Now that I can help you with your mobile device, you do need an extra bit of information. In order for me to securely see your device, you will need to follow these instructions prior to the session.
If you get stuck, don’t worry, we can walk through the instructions when I call you for your appointment.
1. Install the ConnectWise Control app from the App Store
- Click the App Store button on your iPhone or iPad
- Click the Search icon (magnifying glass)
- Type: connectwise control in the search box
- Tap the “Get” button next to ConnectWise Control app
- Enter your password, if necessary
- Wait for the app to completely load, then go back to your home screen
2. Enable screen sharing
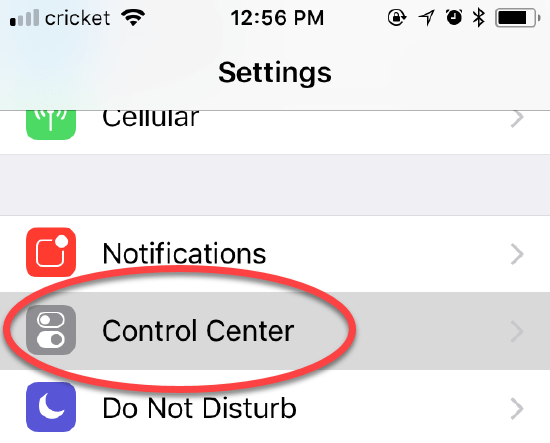
A. Tap Settings icon from your home screen then Control Center in Settings
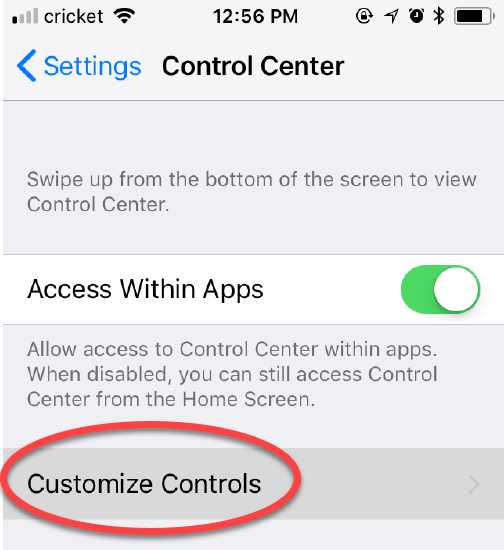
B. Tap Customize Controls
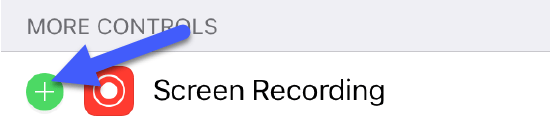
C. Add Screen Recording
- Scroll down to the More Controls section and Tap the Green circle next to Screen Recording.
(if Screen Recording is already in the Include section, skip this step)
3. Open the ConnectWise Control app from your home screen
- Tap the ConnectWise Control icon to open the app.
4. Type: helpmerick.screenconnect.com in the white box, then tap Go

5. When I call at the appointed time, I will provide you with a unique, secure code for our session.

Start broadcasting your screen
In order for me to view your screen, start Apple’s Screen Recording feature.
(I will walk you through this, but you can practice the steps listed here).
1. Open the Control Center by swiping up from the bottom of your screen on your iPhone or with an iPad from the top right of your screen towards the middle of the screen
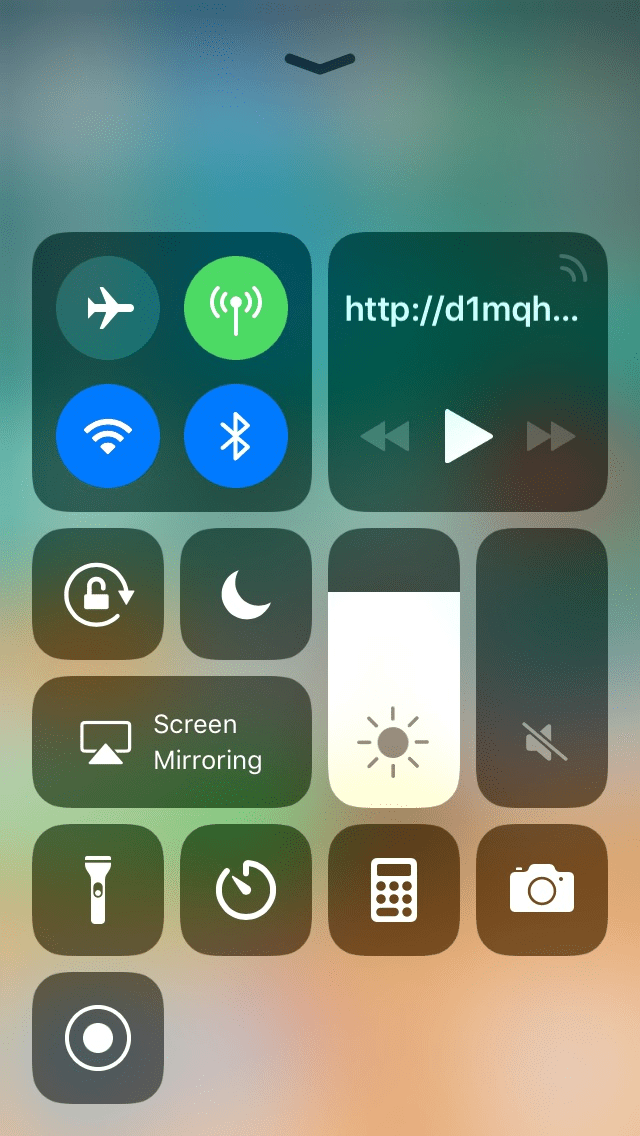
2. Tap-and-hold on the Screen Recording icon
Press-and-hold on the Screen Recording icon to open the Screen Recording menu.

3. Select the ConnectWise Control icon and tap Start Broadcast
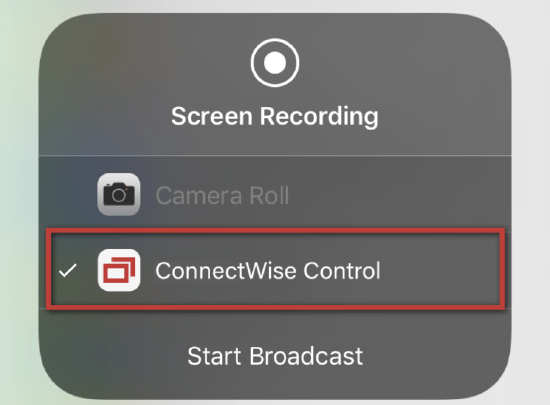
While we are in the session, you will see a red recording bar at the top of the screen, and your Screen Recording icon will turn red and pulse in the Control Center. When we finish the session, I will disconnect from your device and walk you through stopping the broadcast.